 Pin it
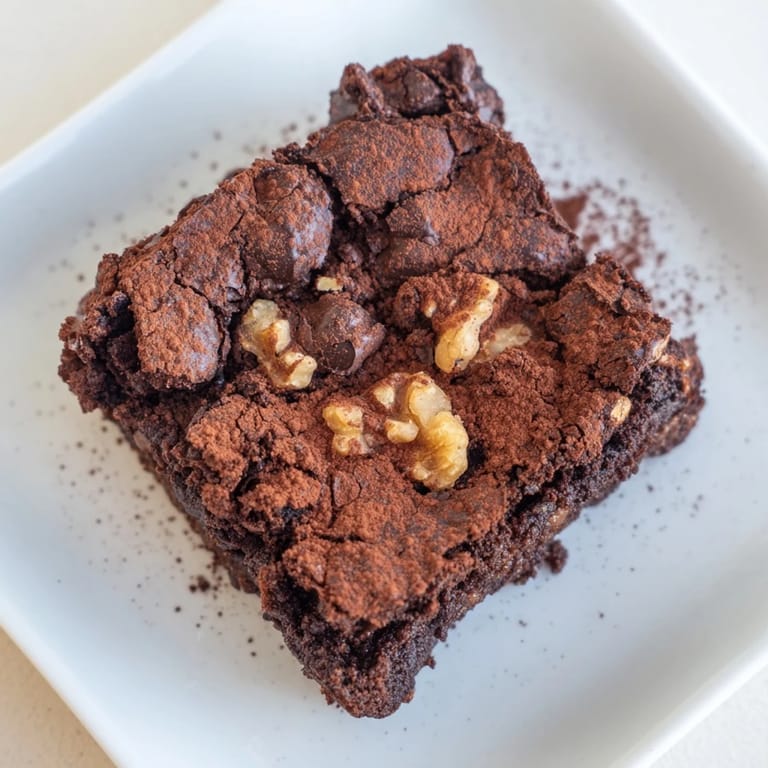
 There's something about the smell of melting chocolate that makes a kitchen feel like home. I stumbled onto my perfect brownie ratio on a Tuesday afternoon when my neighbor dropped by unexpectedly and I had nothing but butter, chocolate, and eggs in the pantry. Two hours later, after a happy accident of slightly underbaking them, she was devouring her third square and I realized I'd cracked the code: dense, fudgy, with that coveted crackly top that makes people close their eyes on the first bite.
I made these for my book club last month and watched a normally quiet friend eat three brownies in silence, which honestly felt like the highest compliment. The chocolate melted on her tongue so completely that she actually gasped, and then sheepishly asked if she could take the rest home. That moment reminded me why I keep coming back to this recipe—it's not just dessert, it's a small edible gift.
Ingredients
- Semi-sweet chocolate, 170 g chopped: This is where the magic happens; chopping it yourself helps it melt evenly and prevents those grainy bits you get with chips.
- Unsalted butter, 115 g: The base that makes everything tender; salted butter will throw off the balance.
- Granulated sugar, 200 g: The workhorse that feeds the crackly top texture while keeping the inside moist.
- Light brown sugar, 50 g packed: Adds depth and a hint of molasses richness that elevates the flavor.
- Large eggs, 2: Room temperature eggs mix in more smoothly and create a better emulsion than cold ones.
- Vanilla extract, 1 tsp: A quiet backbone that rounds out the chocolate flavor instead of making it taste overly sweet.
- All-purpose flour, 80 g: Less flour than you'd expect is the secret; too much and you get cake instead of that dense, fudgy crumb.
- Unsweetened cocoa powder, 30 g: The unsung hero that amplifies chocolate flavor without adding sugar or fat.
- Salt, 1/4 tsp: A pinch that makes the chocolate sing and prevents the sweetness from feeling one-note.
- Walnuts or pecans, 100 g optional: I toast mine for 5 minutes first so they don't taste raw against the warm chocolate.
- Chocolate chips, 100 g optional: Choose quality chips or they'll taste waxy; I sometimes swap these for chunks of a chocolate bar I actually like eating.
Tired of Takeout? 🥡
Get 10 meals you can make faster than delivery arrives. Seriously.
One email. No spam. Unsubscribe anytime.
Instructions
- Prep your stage:
- Heat your oven to 175°C and line an 8-inch square pan with parchment, letting it drape over the sides so you can pull the whole thing out later. This takes 2 minutes and saves you 10 minutes of frustration.
- Melt chocolate and butter together:
- Use low heat in a saucepan and stir constantly—you're listening for that moment when everything becomes glossy and smooth, maybe 4 or 5 minutes. Let it cool for a minute or two off the heat so the eggs won't scramble when you add them.
- Marry the sugars in:
- Stir both sugars into the warm chocolate mixture until you can't see any grains anymore; this takes about a minute and feels very satisfying.
- Add eggs one at a time:
- Crack each egg in, mix it completely before the next one goes in, and you'll feel the batter lighten slightly and become silkier. This is when it starts smelling irresistible.
- Fold in the flour and cocoa:
- Sift these dry ingredients right over your batter and fold gently with a spatula—this is where you resist the urge to overmix, which would toughen everything. You want it just combined, with maybe a whisper of flour still visible.
- Stir in any add-ins:
- If you're using nuts or chocolate chips, fold them in gently now so they're distributed but not crushed.
- Spread and bake:
- Pour into your pan, smooth the top gently, and slide into the oven for 22 to 28 minutes. The toothpick test is crucial: you want a few moist crumbs clinging to it, not a clean insertion, which means you've underbaked on purpose.
- Cool completely:
- Let them sit in the pan until they reach room temperature—I know it's torture, but this sets the crumb structure so they slice cleanly instead of crumbling.
- Lift and cut:
- Use the parchment overhang to lift the whole block out, then cut into 16 squares with a sharp knife dipped in hot water between cuts for clean edges.
 Pin it
 My sister once left a pan of these on her office desk overnight and came back to find half of them gone, with a note from someone saying they were the best thing they'd ever stolen. That's when I knew I'd really nailed the recipe—when brownies become legendary enough that people commit office theft.
The Chocolate Matters
Don't grab the cheapest chocolate you can find; this recipe only has a handful of ingredients, so each one has to pull its weight. Semi-sweet gives you that balance between richness and approachability, and chopping a chocolate bar yourself tastes noticeably better than using pre-melted chocolate or chocolate chips that are loaded with stabilizers. I learned this when I once got lazy and used some waxy baking chocolate, and the brownies tasted fine but forgettable—the moment I went back to real chocolate, people noticed immediately.
Why This Baking Time Works
The 22 to 28 minute window might seem wide, but it actually reflects how much ovens vary and how different pan materials conduct heat. A glass pan bakes faster than metal, and a dark metal pan cooks hotter than a light one, so knowing your oven is half the battle. I test them at 22 minutes now because I'd rather pull them out slightly underdone and let residual heat finish them than overbake and end up with that dry, cakey texture that defeats the whole purpose.
Serving and Storage Secrets
Brownies are actually better the next day once they've had time to set and the flavors have deepened, which makes them perfect for baking ahead. They keep beautifully in an airtight container at room temperature for up to four days, and if you absolutely need to serve them warm, a quick 10 seconds in the microwave brings back that fudgy texture.
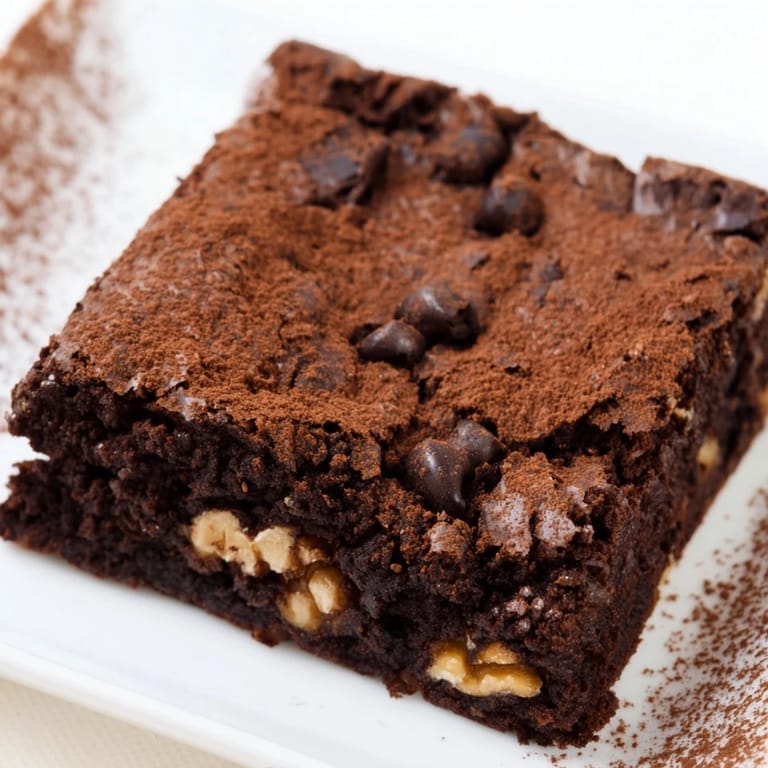
- Dust with powdered sugar right before serving if you want to show off that crackly top.
- A scoop of vanilla ice cream on a warm brownie is non-negotiable—it's the combination that makes people remember the moment, not just the dessert.
- If you end up with a pan that stayed in the oven a few minutes too long, fridge time and ice cream can still save the day.
 Pin it
 These brownies have become my default gift, my comfort bake, and the dessert people ask for by name. There's real joy in handing someone a brownie wrapped in parchment and watching their face when they taste that perfect balance of crackle and fudge.
Recipe FAQs
- → What type of chocolate is best for these squares?
Semi-sweet chocolate works best, providing balanced sweetness and rich cocoa flavor without overpowering bitterness.
- → How can I achieve a crackly top on these squares?
Melting the butter and chocolate together followed by thorough mixing with sugars helps create the signature glossy, crackly surface.
- → Can nuts be added for extra texture?
Yes, chopped walnuts or pecans can be folded into the batter for added crunch and flavor.
- → What is the ideal baking time for a fudgy interior?
Bake for 22 to 28 minutes until a toothpick comes out with a few moist crumbs, ensuring a soft and gooey center.
- → Are there alternatives to nuts for those with allergies?
Omitting nuts or substituting with dried fruit offers a nut-free variation that maintains texture variety.
- → How should the squares be cooled before cutting?
Allow them to cool completely in the pan for clean, even cutting and to let the flavors set properly.